Auto Parts Template WordPress Theme” Documentation by “Webcodemonster” v2.0.0
Auto Parts Template WordPress Theme”
Created: 07/01/2017
By: Webcodemonster
Email: Webcodemonster
Hello! First of all I would like to thank you for purchasing my theme! :)
This file will teach you how to set up and use the “Auto Parts Template” WordPress Theme.
This file is really extensive so you might think the theme is hard to use,
actually its not, you probably just might jump to the options page and explore everything yourself, this file is more of a reference work if you do not know what to do, or if you are not familiar to WordPress.
Have fun with your new theme! best regards
Webcodemonster
Table of Contents
1 Folder Structure of Auto Parts Template - top
The Theme is built with WordPress best practices in mind, therefore it makes heavy use of the WordPress template engine. What exactly does that mean?
Whenever you see a php function call like this within your php files (get_header(), get_footer() or get_sidebar() ) the theme retrieves a reusable code snippet, most of the time a chunk of code that is used in many different files.
- This approach has the benefit that you can edit a single code snippet and the changes will effect many page templates
- Its still easy to only change a single page template since you can simply include a modified copy of the snippet instead of the original one
- Last but not least it makes the folder structure clear and tidy
Apart from the php structure the theme uses a lot of modern CSS3 features, most notably the power of media queries to serve different layouts for different viewport sizes. If you use a modern browser (IE9 +, Chrome, Safari, Firefox) and resize your browser window you will realize that the theme adapts its size to the viewport.
2 Installation - top
2.1 Install theme - top
Step #1
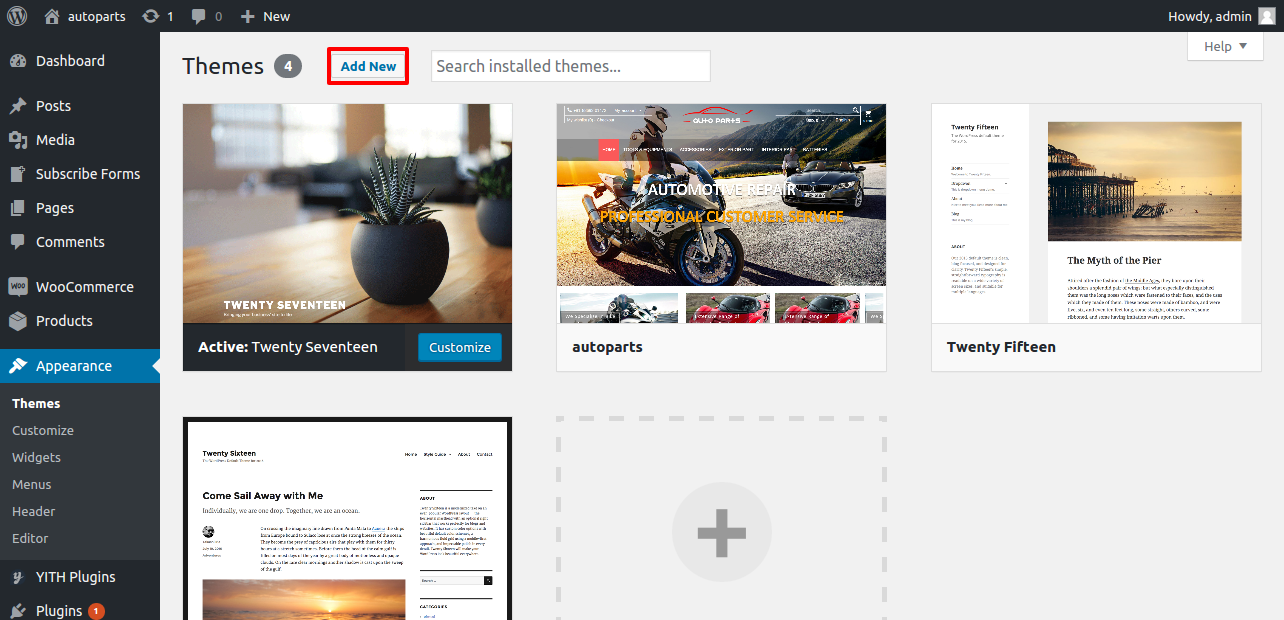
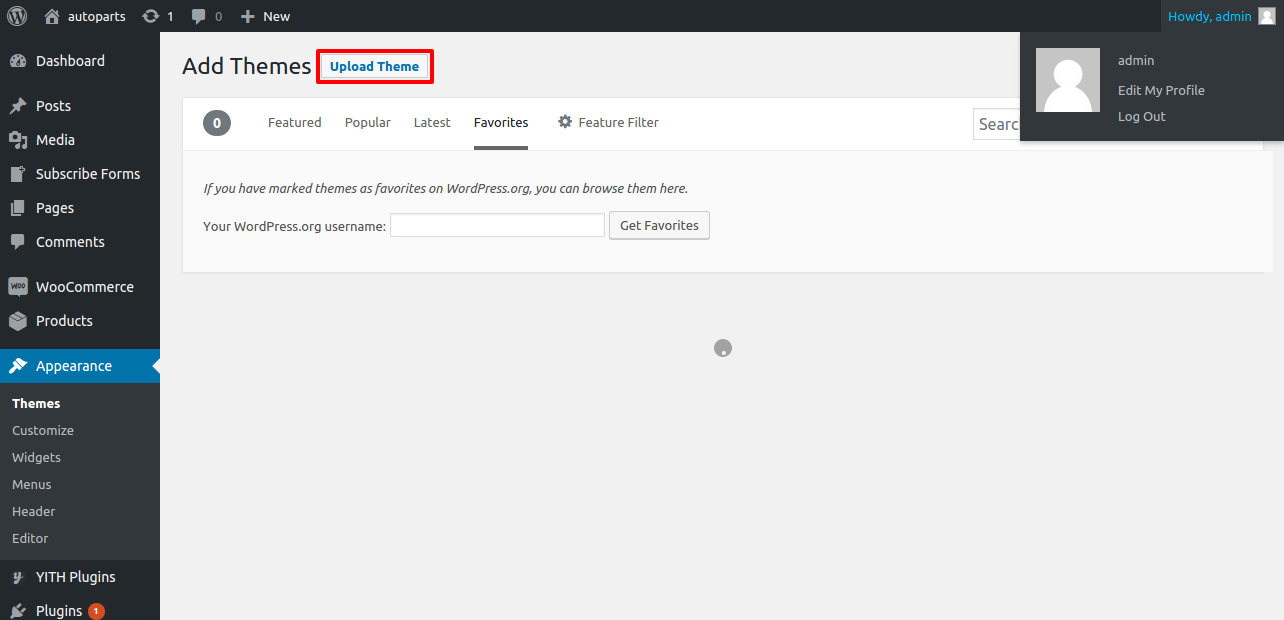
You can either choose to upload the theme to your server via FTP (only upload the unzipped folder "Auto Parts Template" into the folder wp-content/themes/ ) or via WordPress upload function. To use the upload function of the WordPress admin panel make sure to ONLY upload the “Auto Parts Template” folder and not the whole archive file that you received by Webcodemonster.
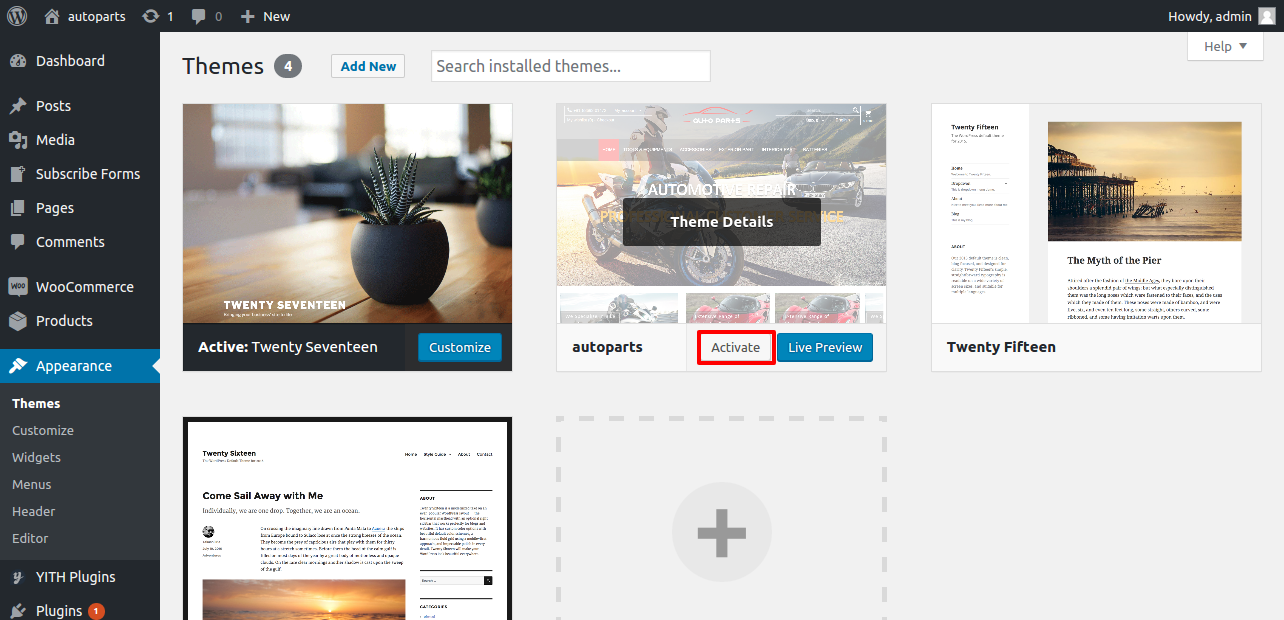
Go to “Themes” menu and upload your theme, then hit “Activate” button.
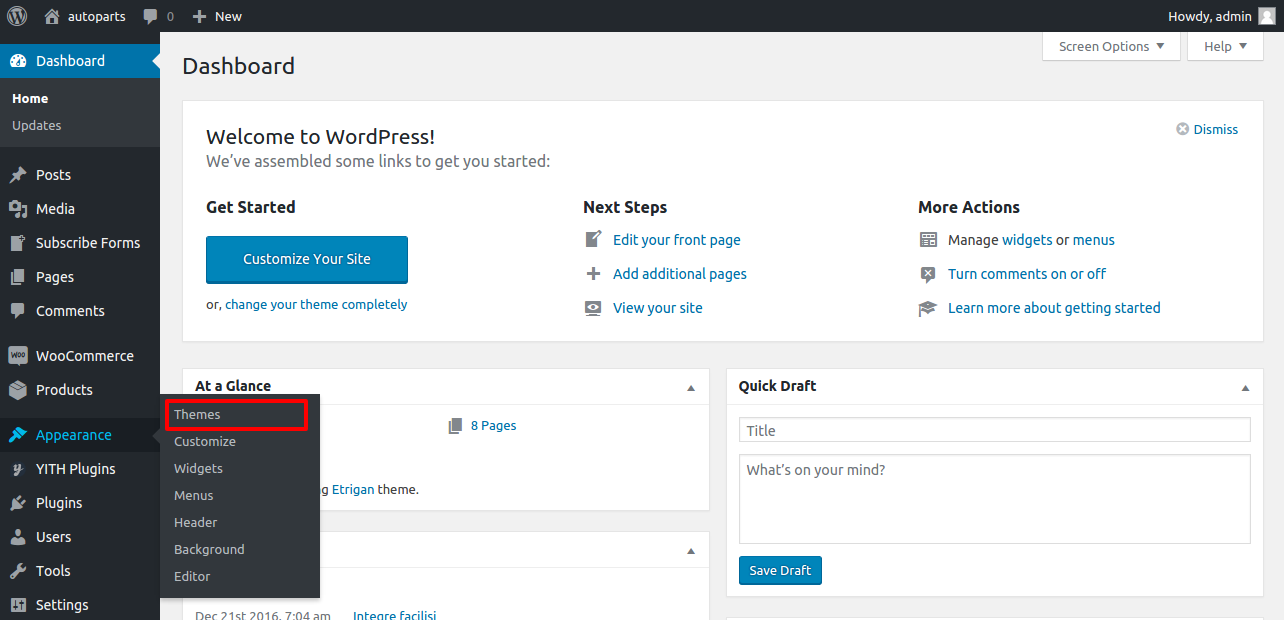
2.2 Install plugins - top
After the theme activation you'll installing some plugins:
Require Plugin Installing Steps
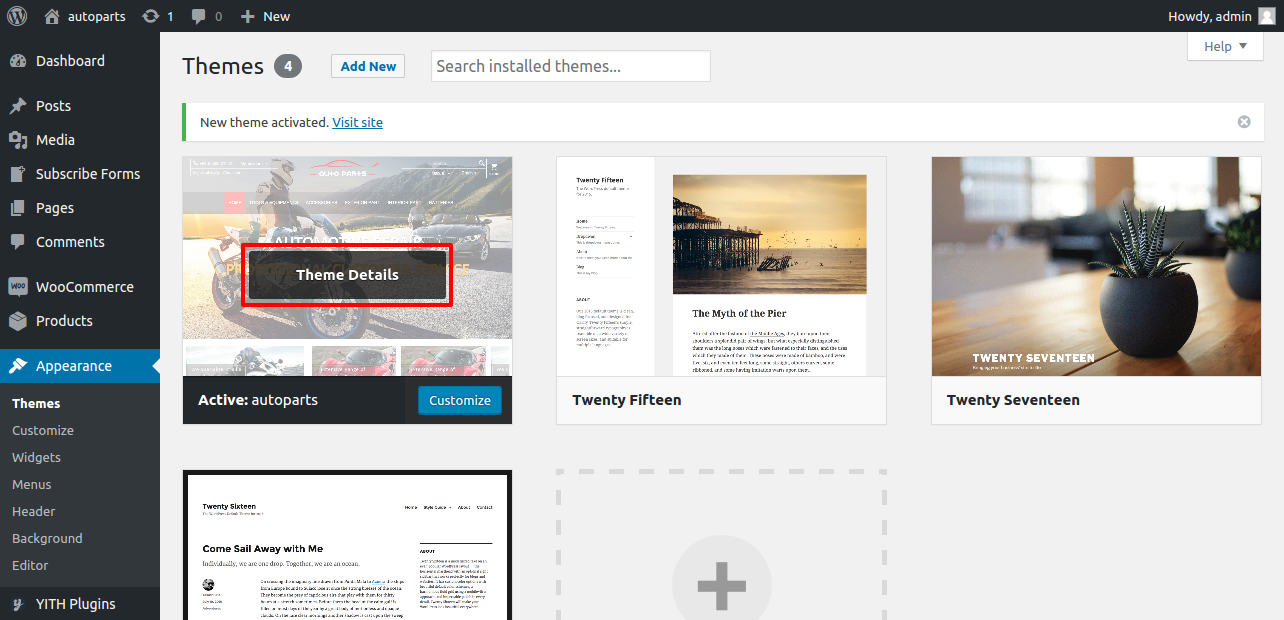
Go to "Appearance" -> themes" menu.Click -> Theme details
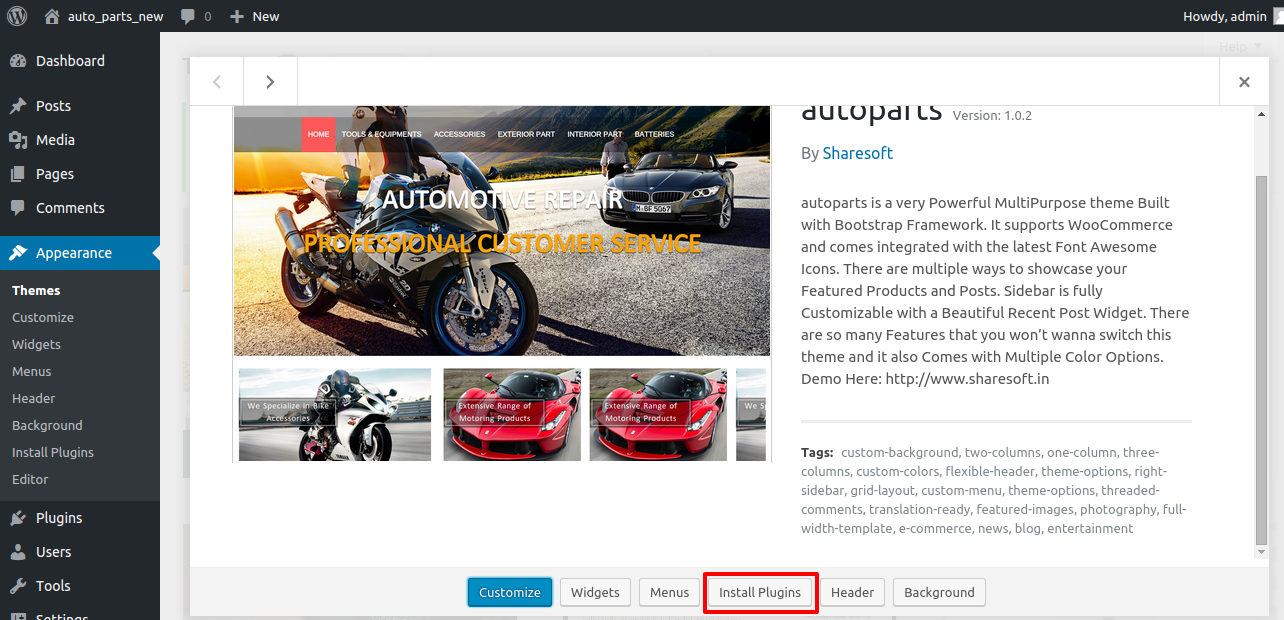
Click -> Install Plugins

To get all the features you see on our demo, make sure you install all the plugins.
it will automatically activated.
Required Plugins
1.contact-form-add
2.currency-switcher
3.mailchimp-subscribe-sm
4.map-multi-marker
5.nc-grid-list-view-for-woocommerce
6.wc-ajax-product-filter
7.wc-products-quick-view
8.wc-variations-radio-buttons
9.weglot
10.woocommerce
11.yith-woocommerce-compare
12.yith-woocommerce-wishlist
all require plugins after installing than continue next steps.Basic Plugin Installing Steps
Go to "Plugins -> Add New" menu and Upload your plugin then Activate plugin.
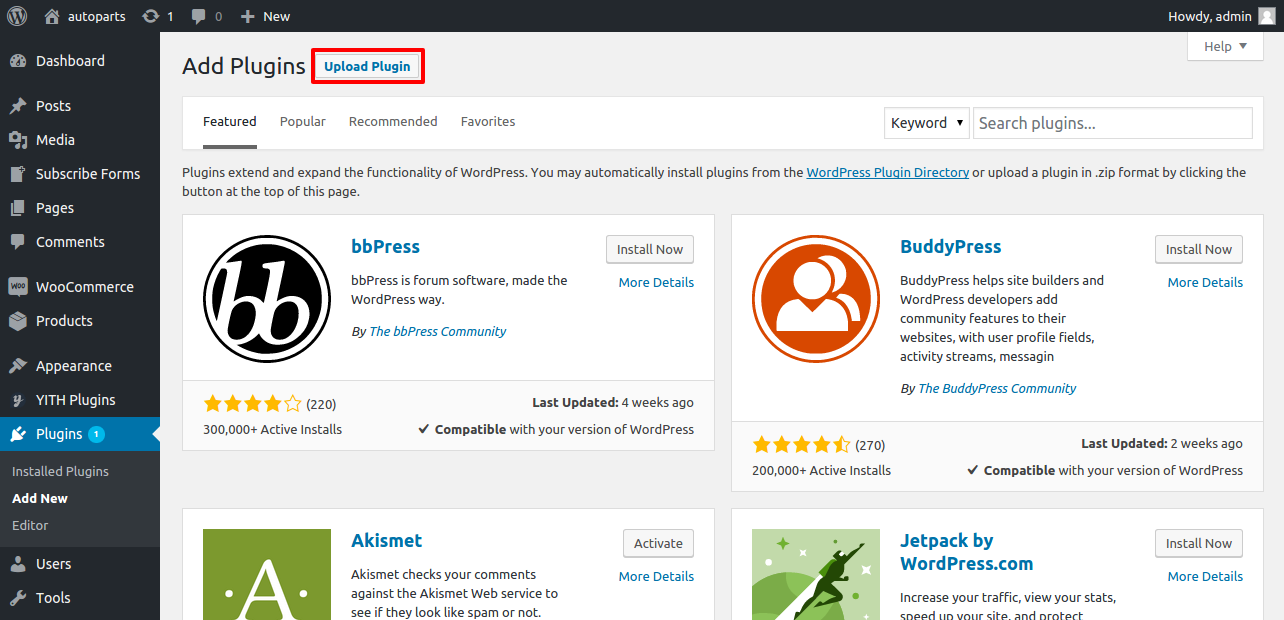

click install now then installing is completed click activate plugin
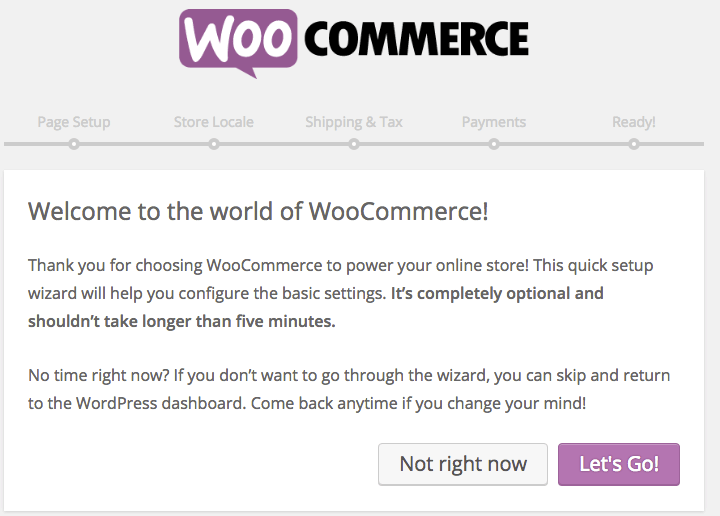
2.3 Woocommerce Installation & Settings - top
Woocommerce Installation
Go to "Plugins -> Add New" menu and Upload your plugin then Activate plugin.
Woocommerce Product creation
Go to "products -> products"
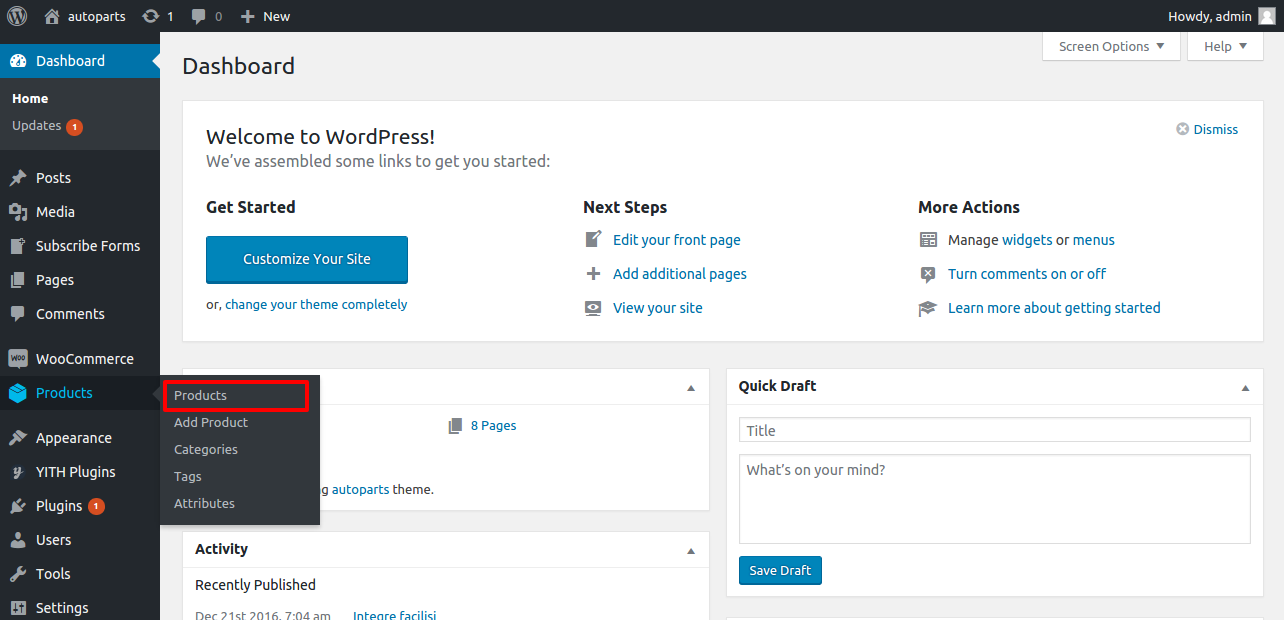
Add new product

Fill the Required, create Product category and assign products
2.4 Widget Setting - top
Widget
Go to "Appearance" -> "Widgets" menu


our theme requires three footer menus and the some contact details.The contact details are you will add in the customize option that will explain in theme customize option. You will add the three custom menu in your widget footer1,footer2,footer3 and add the your menu title.
3 Setting up the Theme Options - top
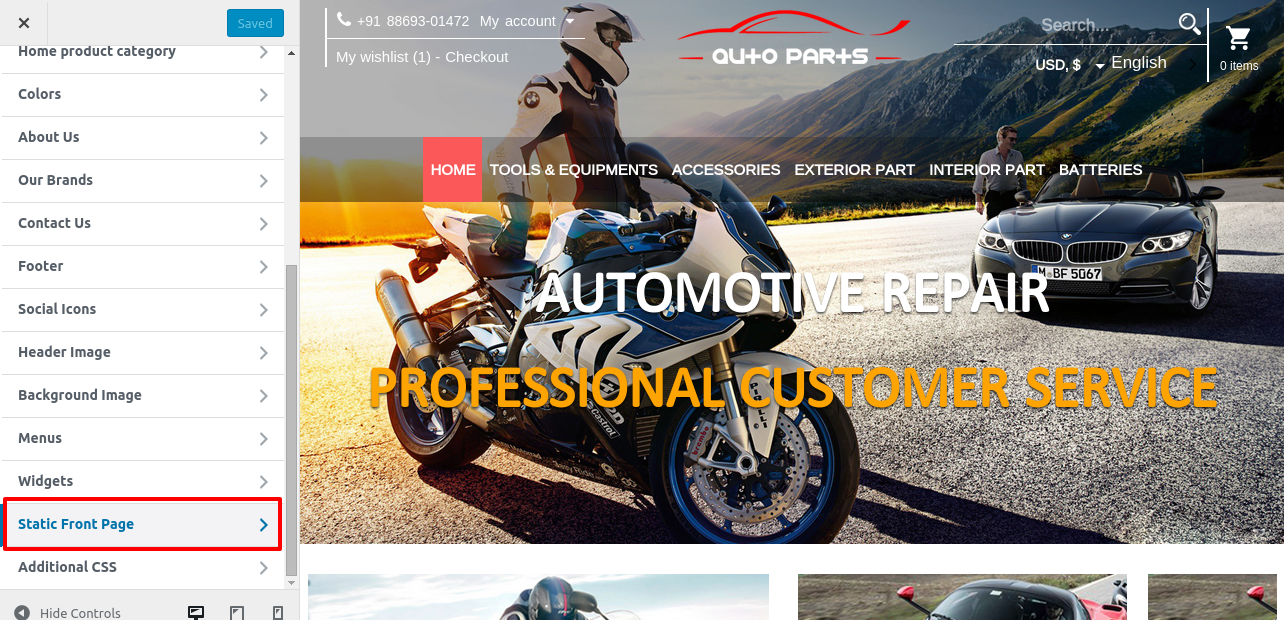
If you want to change the general Options of the Theme open the “Auto Parts Template” Theme Options Panel (located in your admin sidebar) and click it, you will notice several tabs with options, which we will discuss now one by one.
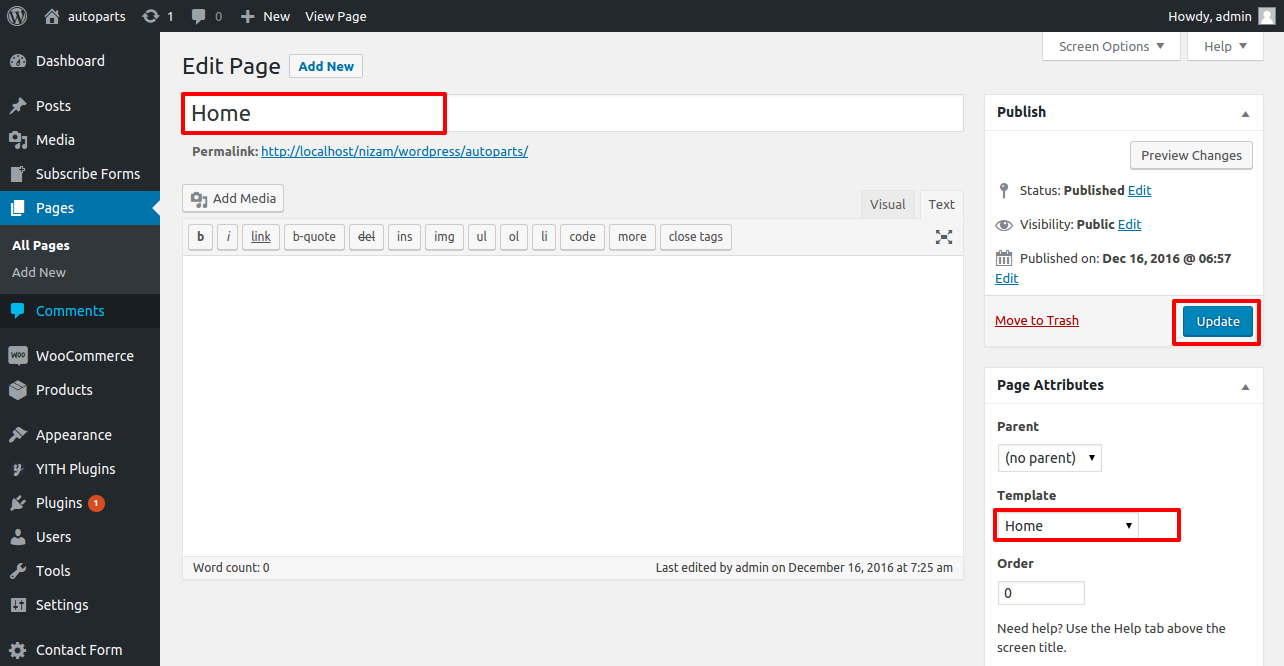
Home Page
You will must set home page as static home page.The Home Page should be created in the pages in your dashboard.
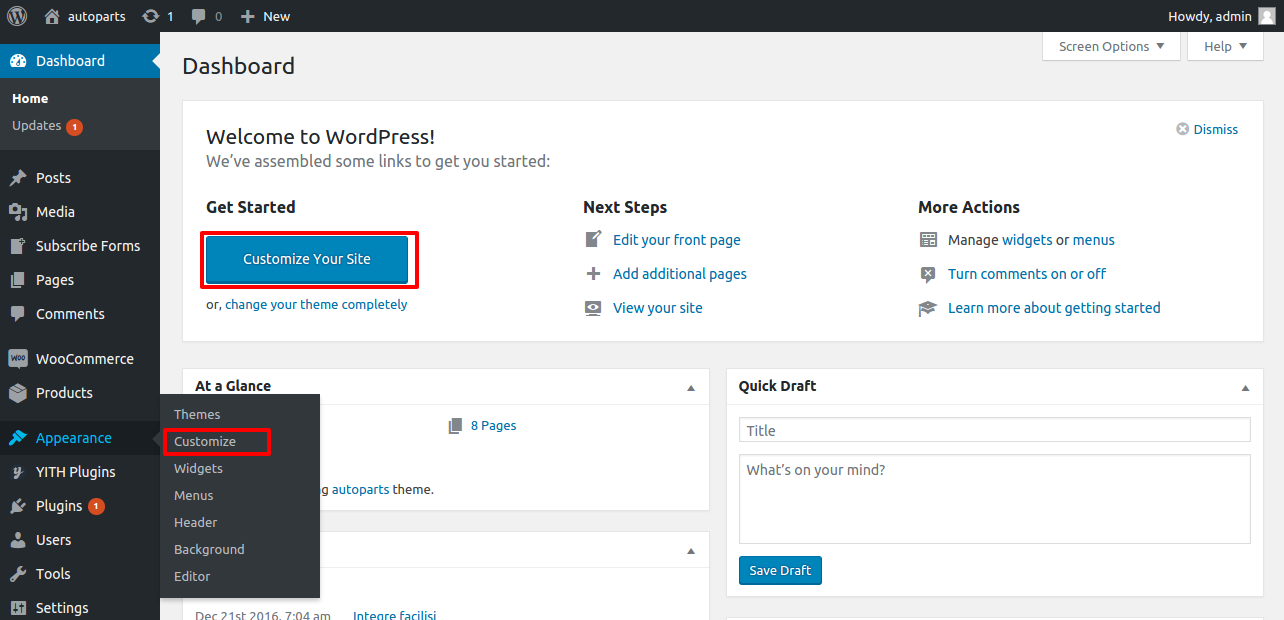
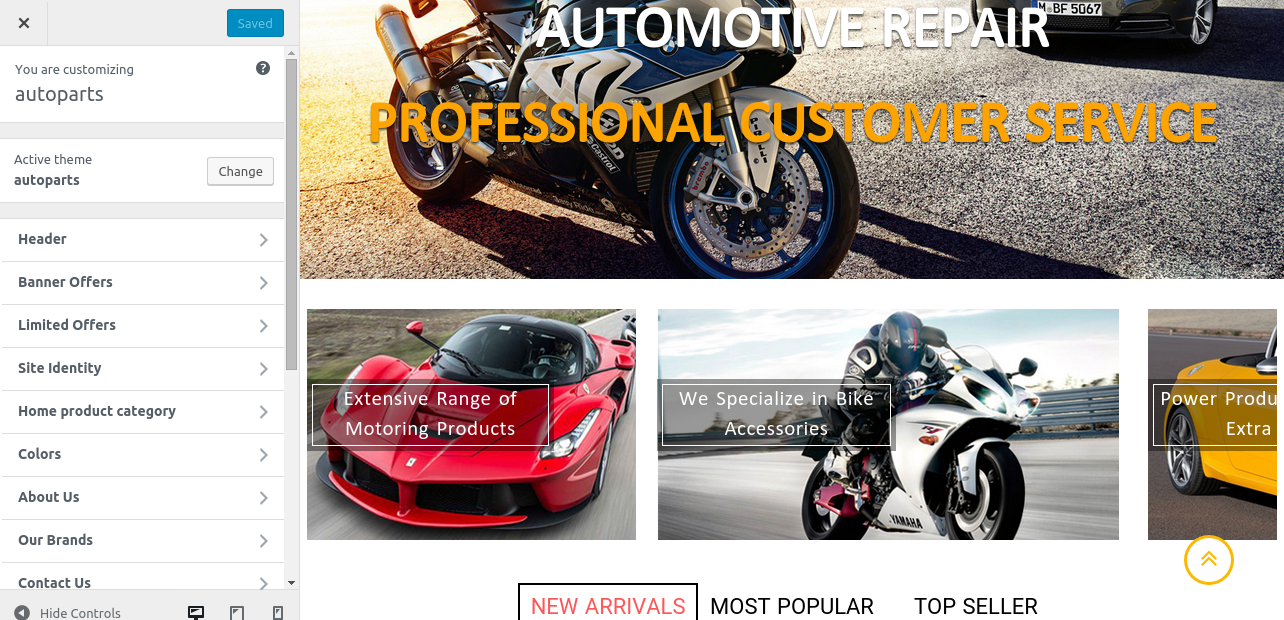
goto ---> Customize Panel

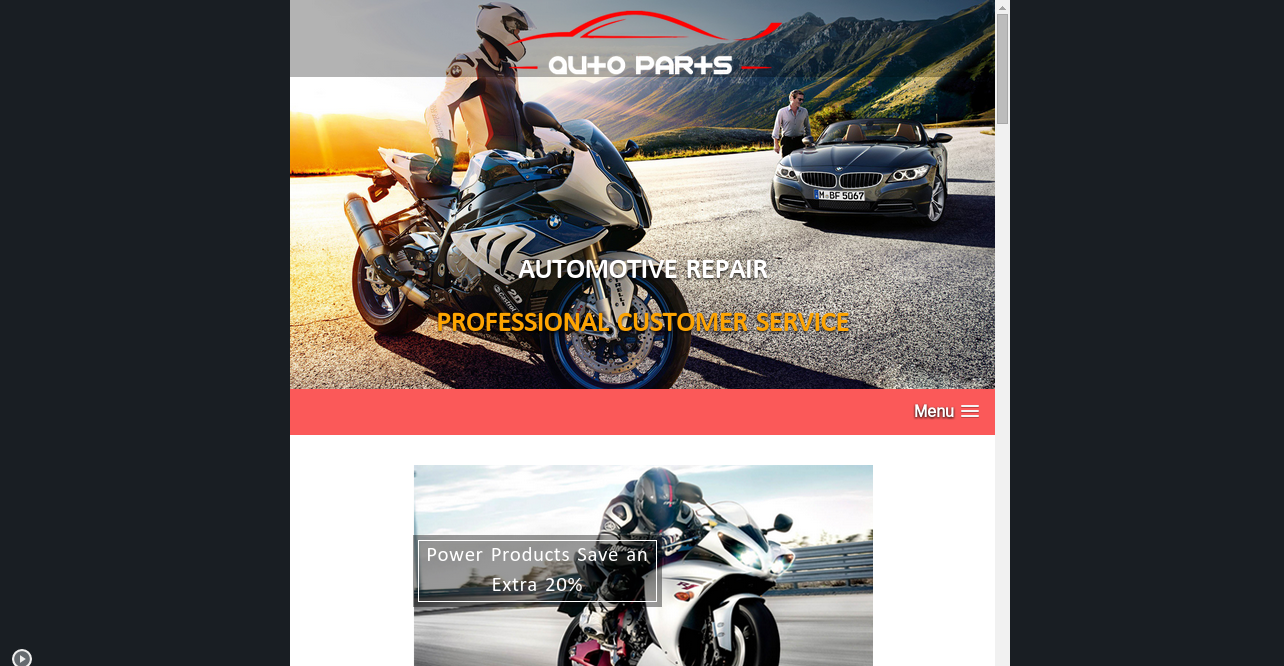
3.1 Title & Logo - top
Click Header Tab
Here you will add the logo, Title.
Here you will add the banner image, content and link.
While adding a link for banner, please just enter only the URL of the page. ex: shop, blog, etc,..
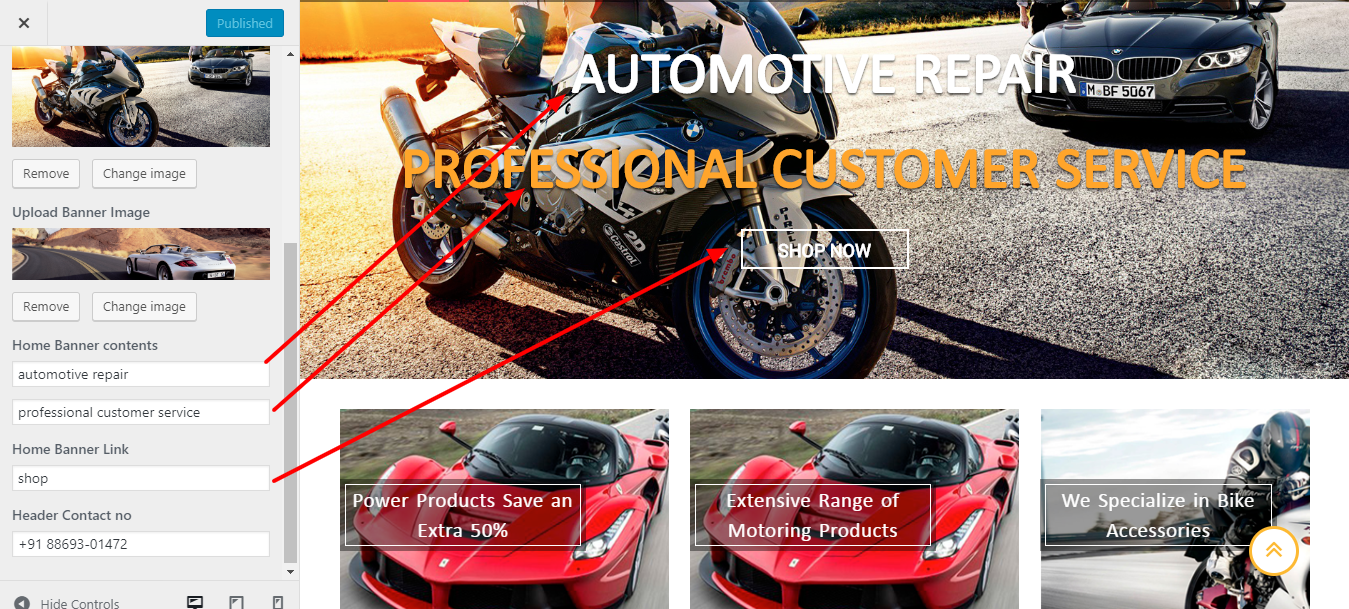
Save & Publish
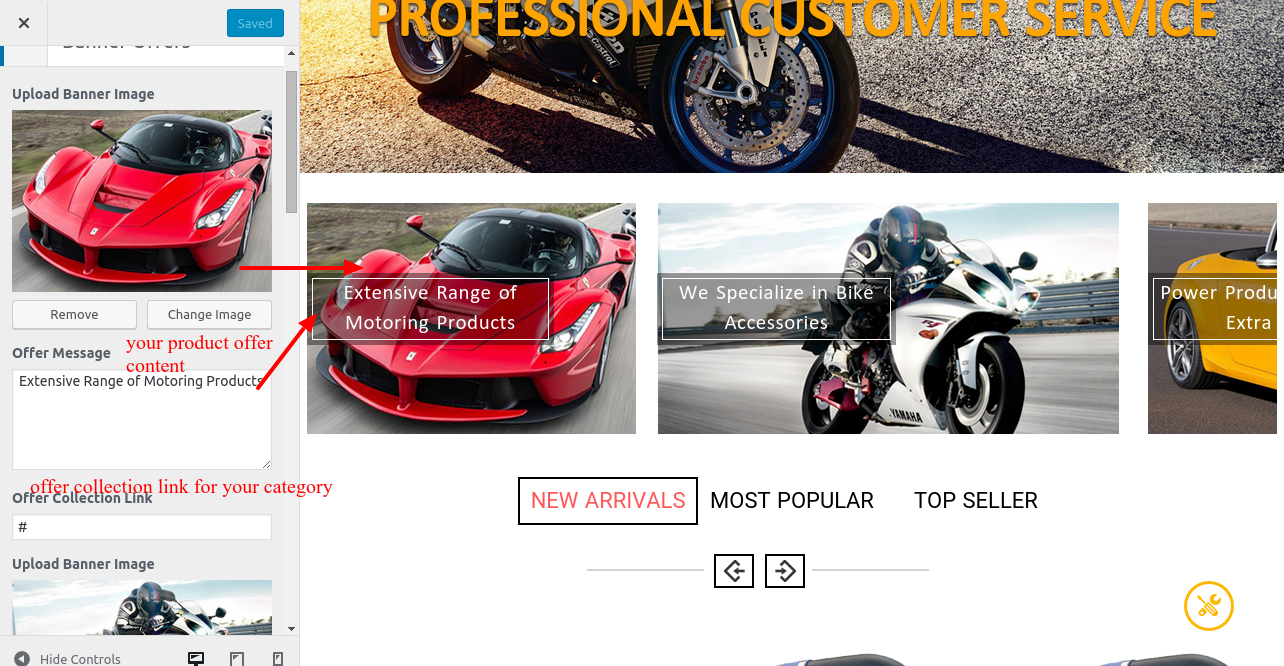
3.2 Product banner offer section - top
Click Banner offer
Here you will add header texts and images for site.

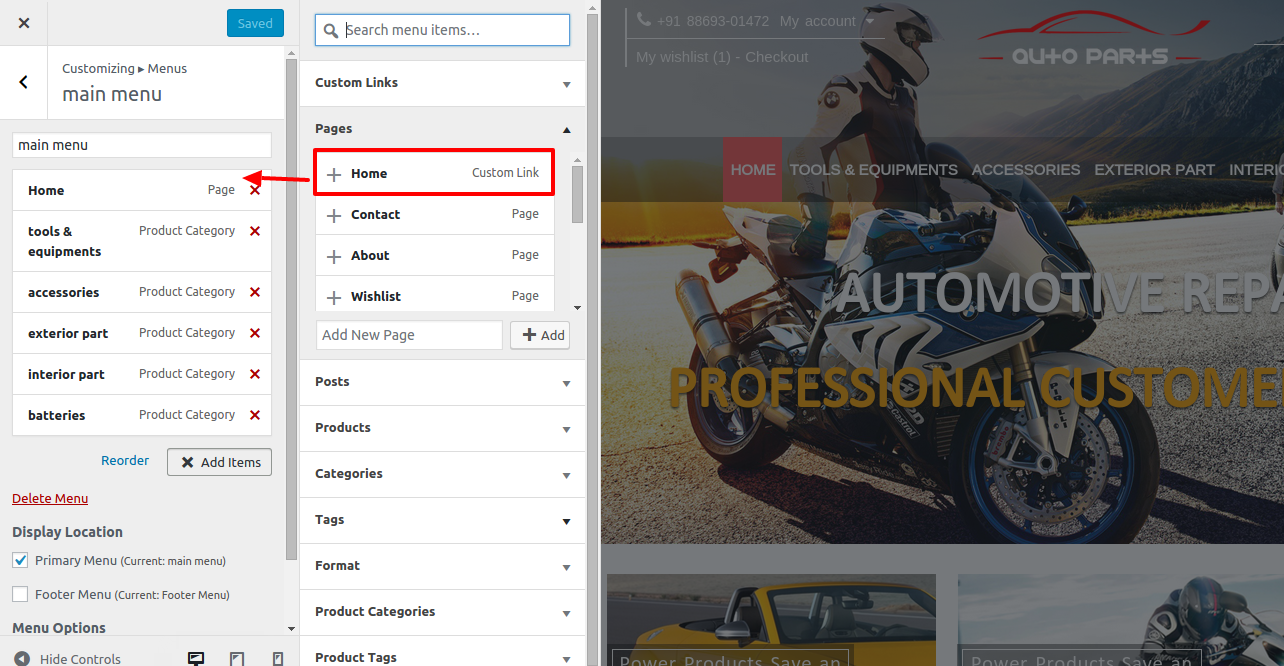
Click Menu Tab

Here you will Crate Menu.
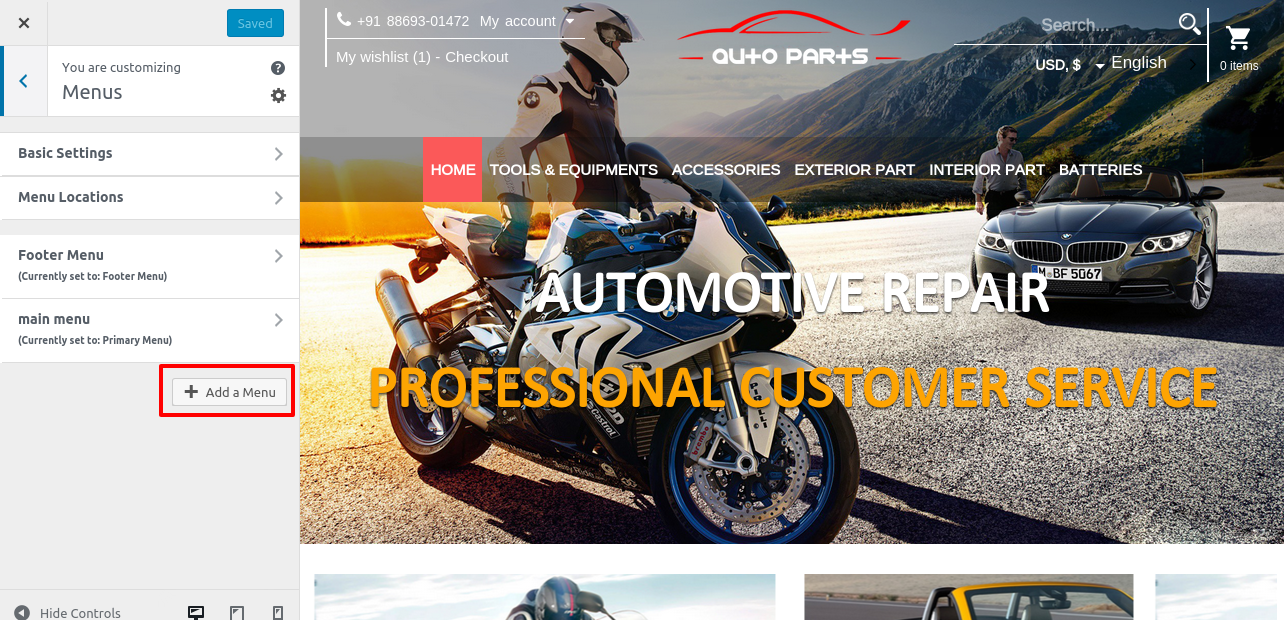
Set Menu Location is Primary Menu and Add Menu items
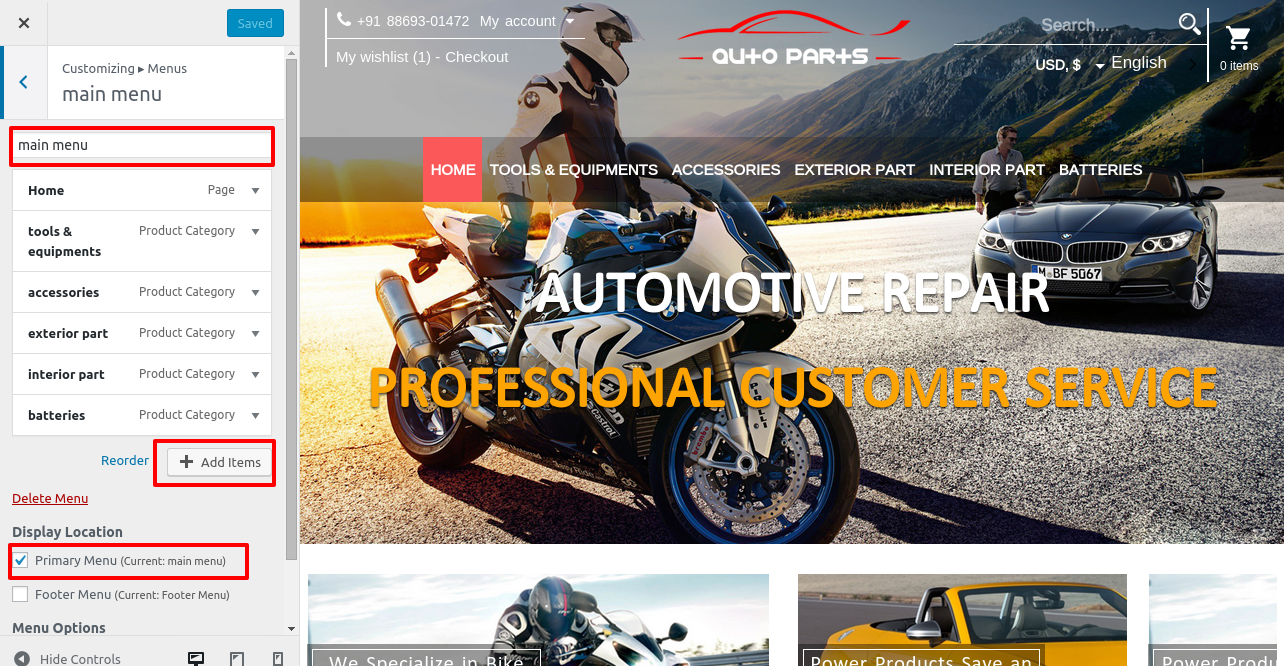
Add Menu Items. Menu items are display at right side. The items Grouped in Categorywise(like us Post, Custom links, product category and etc... )
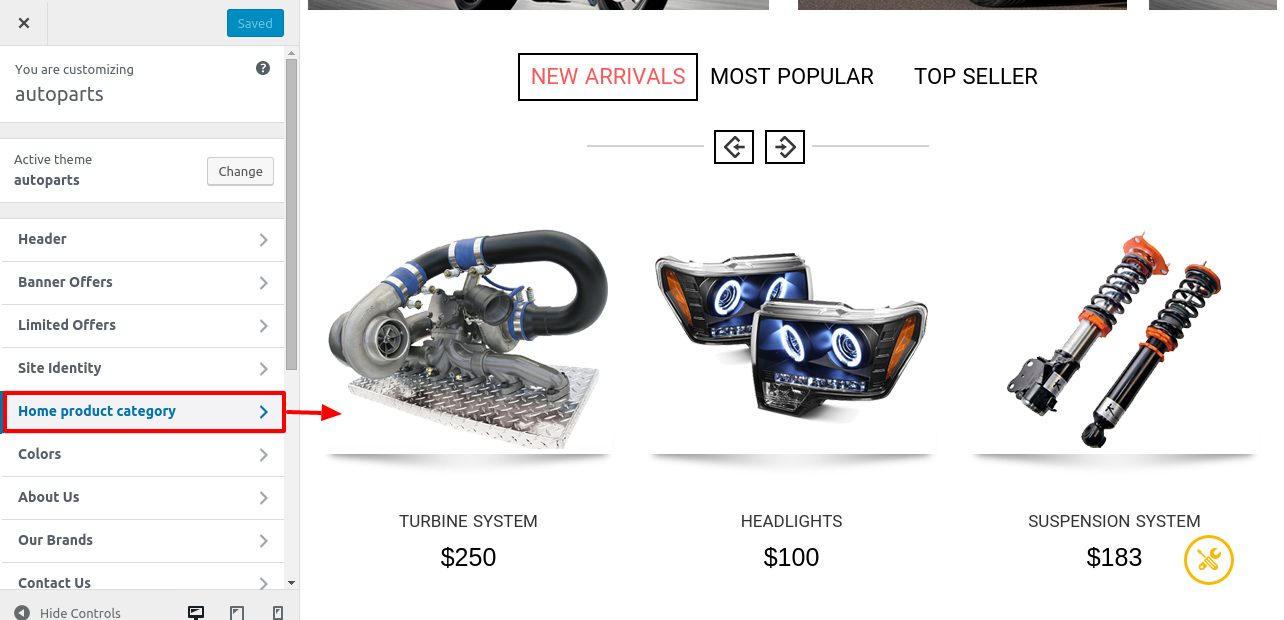
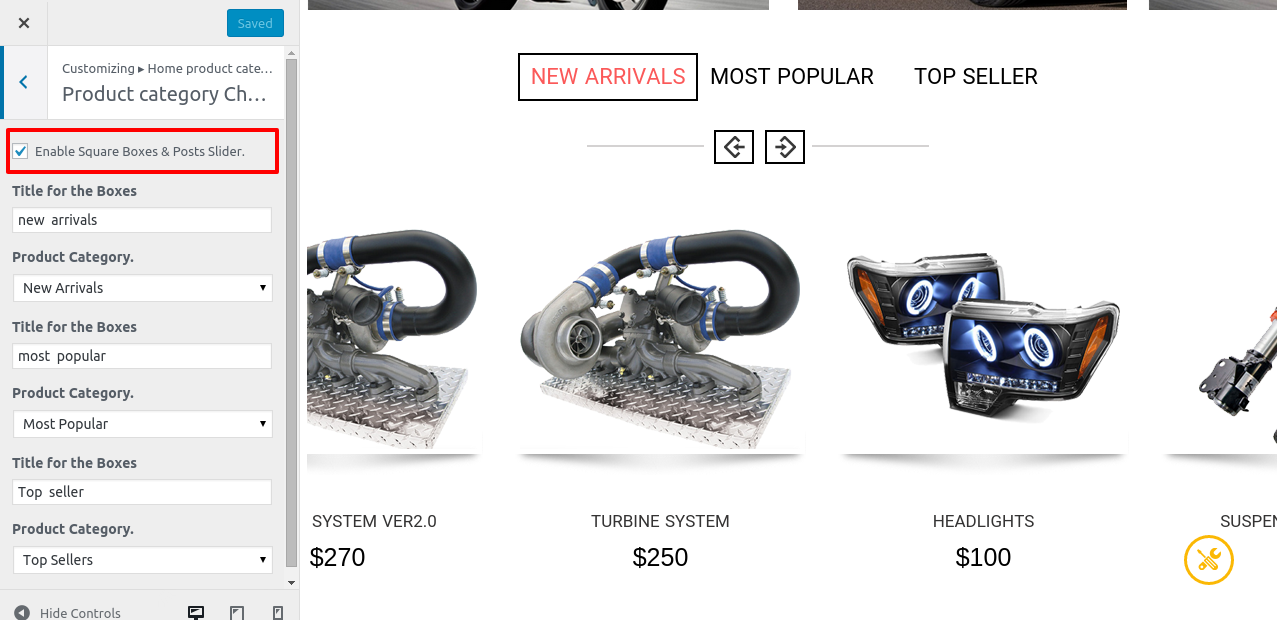
3.4 Home product category slider - top
Click Home product category Tab

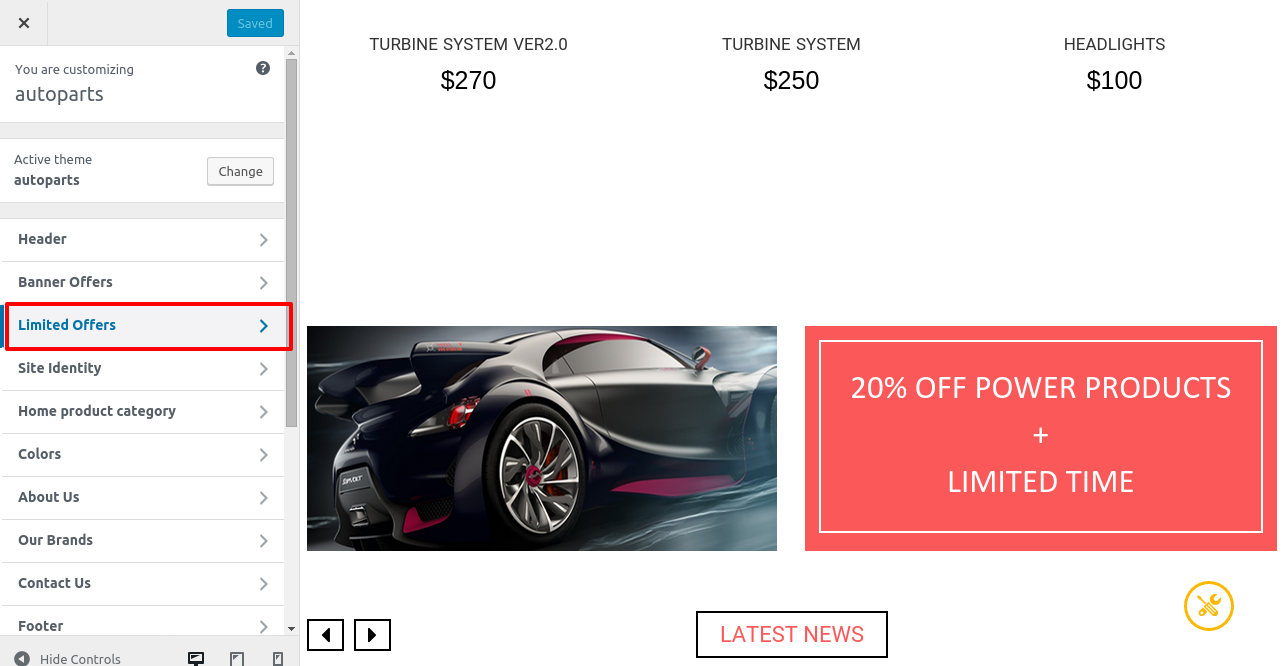
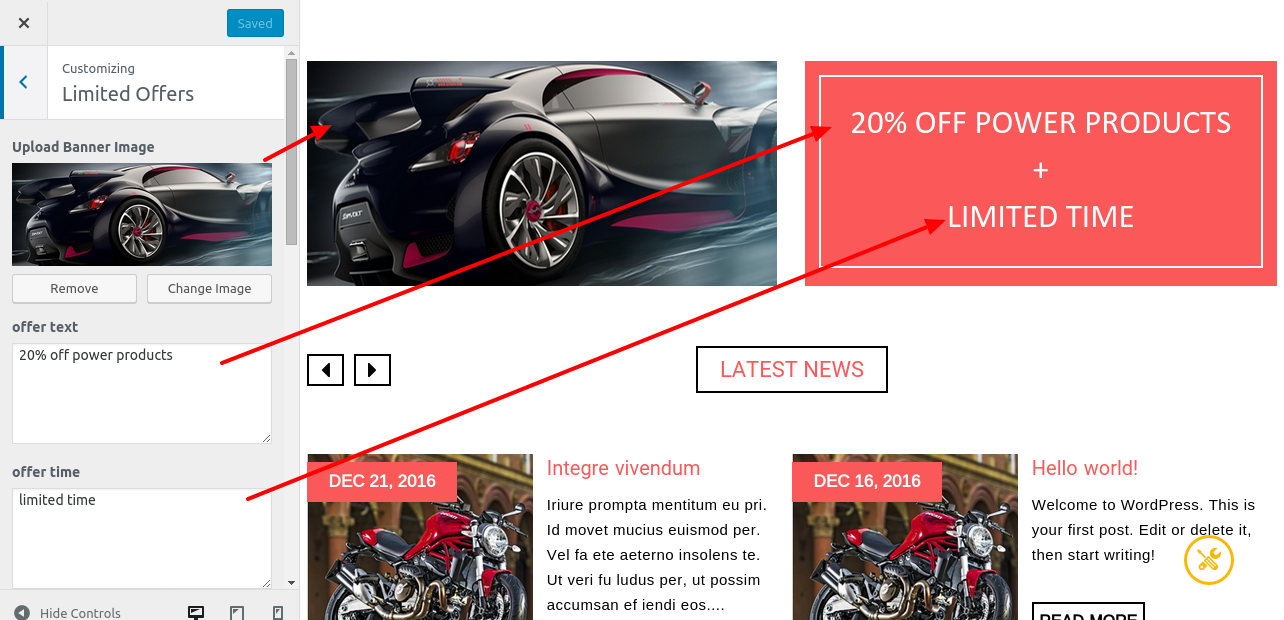
3.5 Limited offer section - top
you will announce the your product offer in this section.
Click Limited offer tab
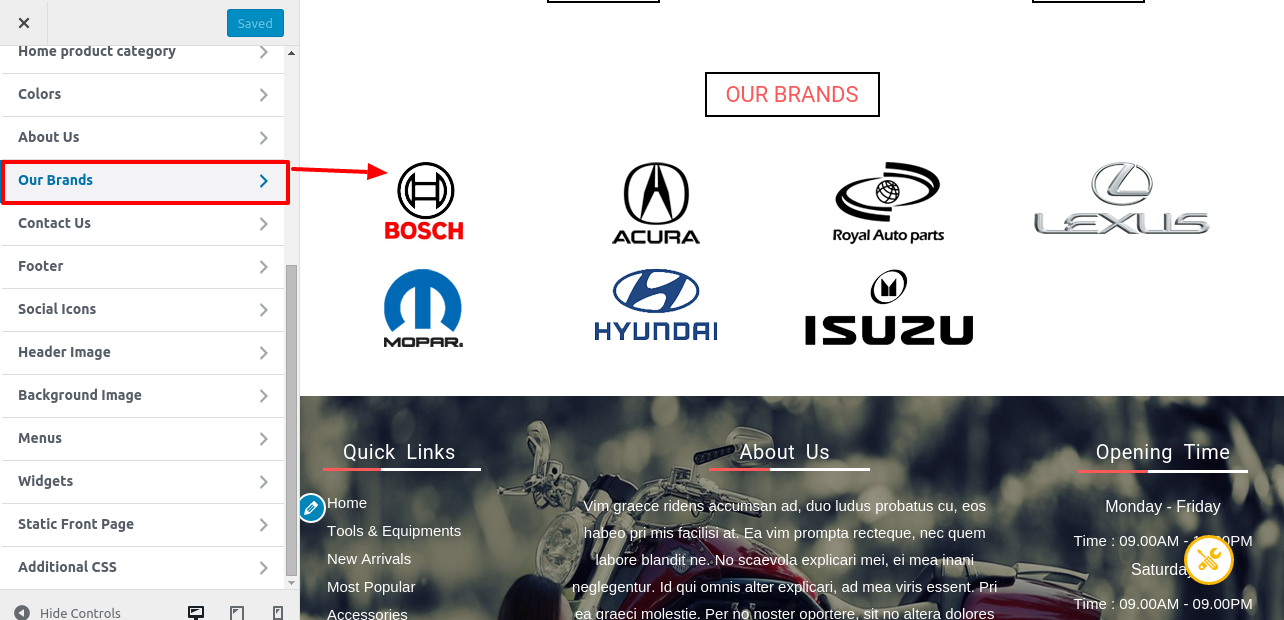
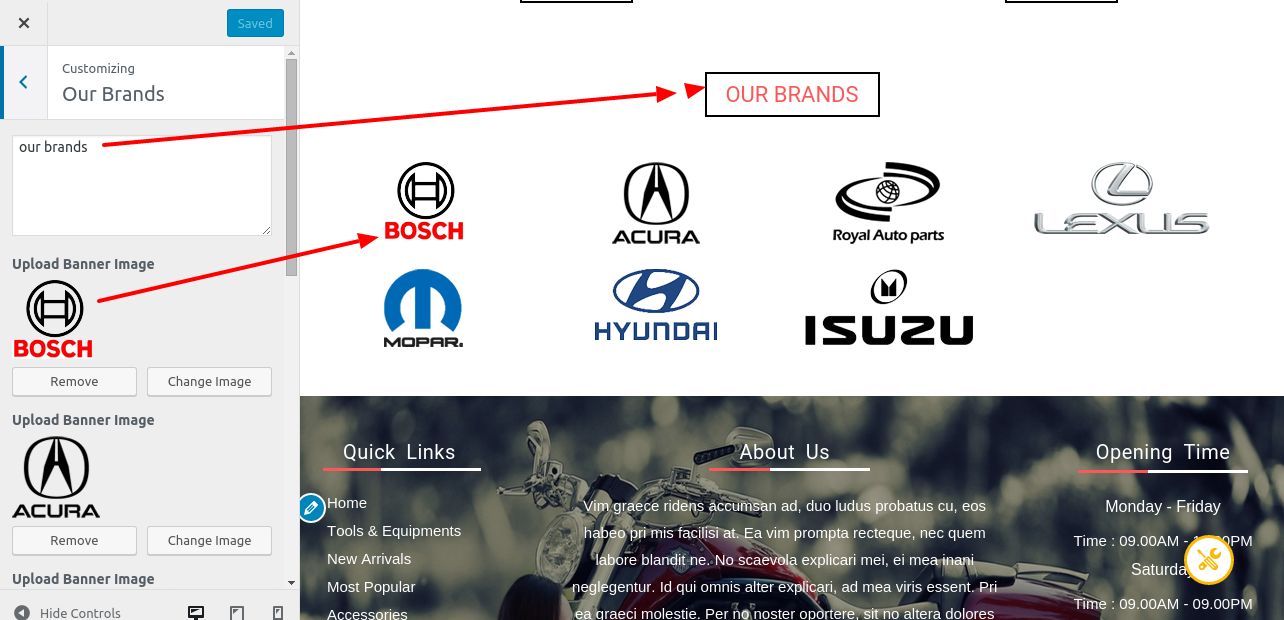
3.6 Our Brands section - top
Click our brands section
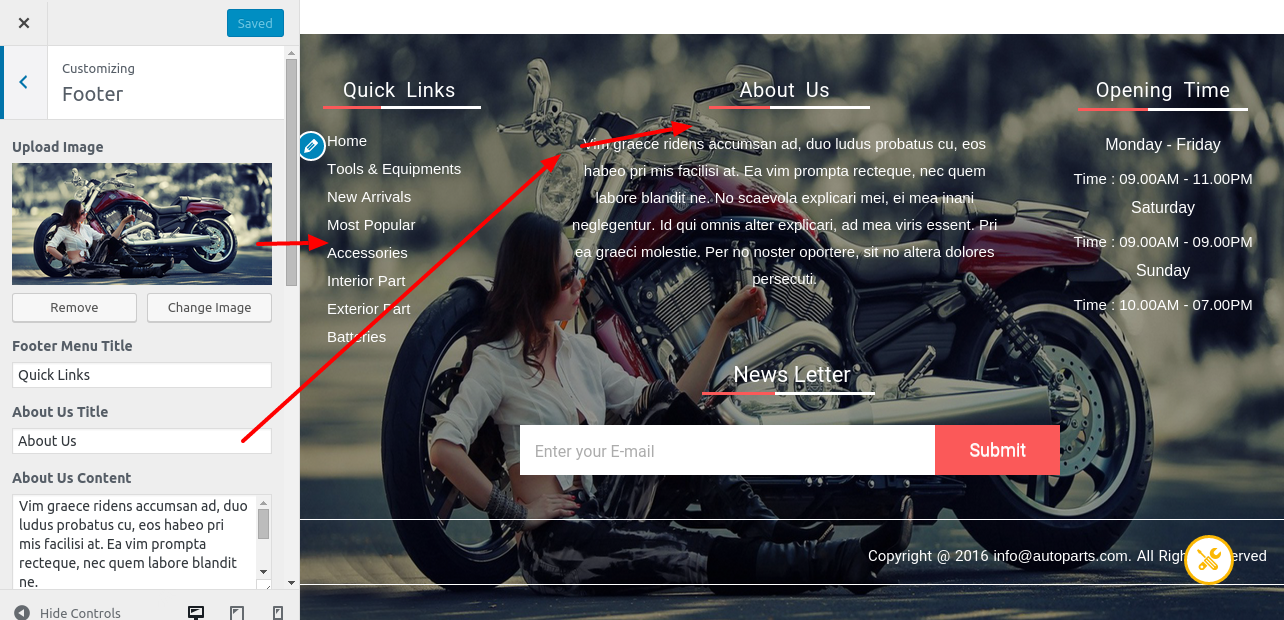
3.7 Footer - top
Click Footer Tab
Here the Footer menus are created in the menu section, that will added in the widget field in widget section.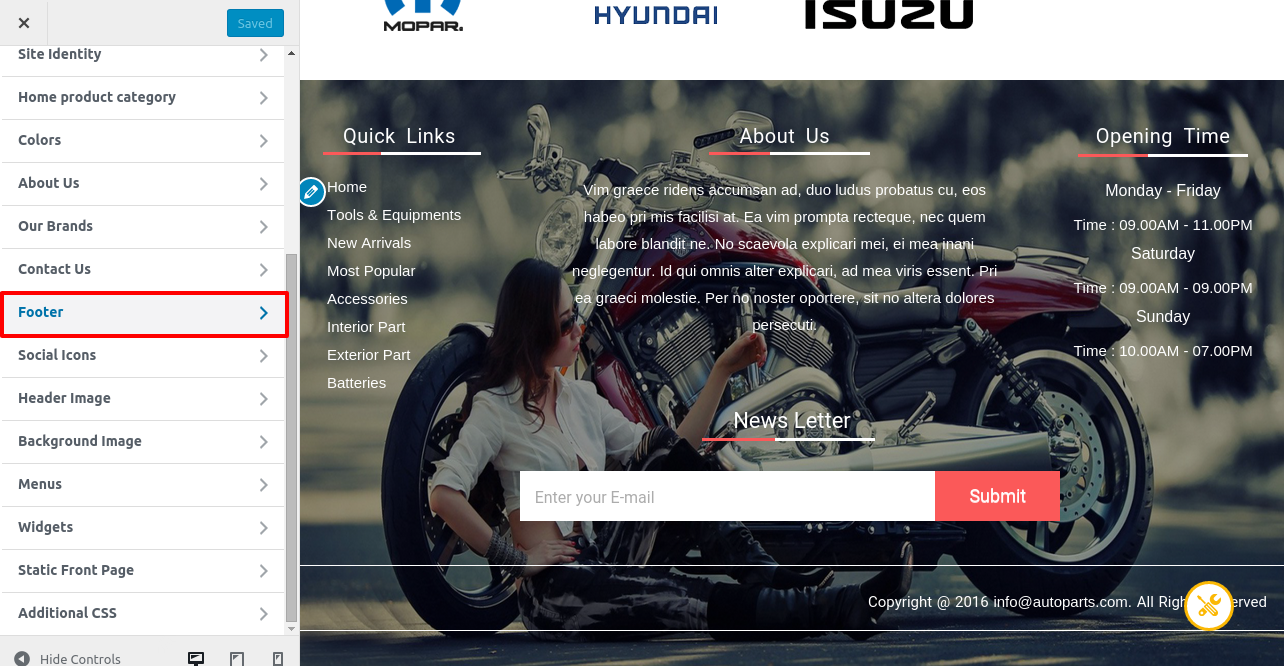
Here you will add the footer details on service options,contact us and etc.,
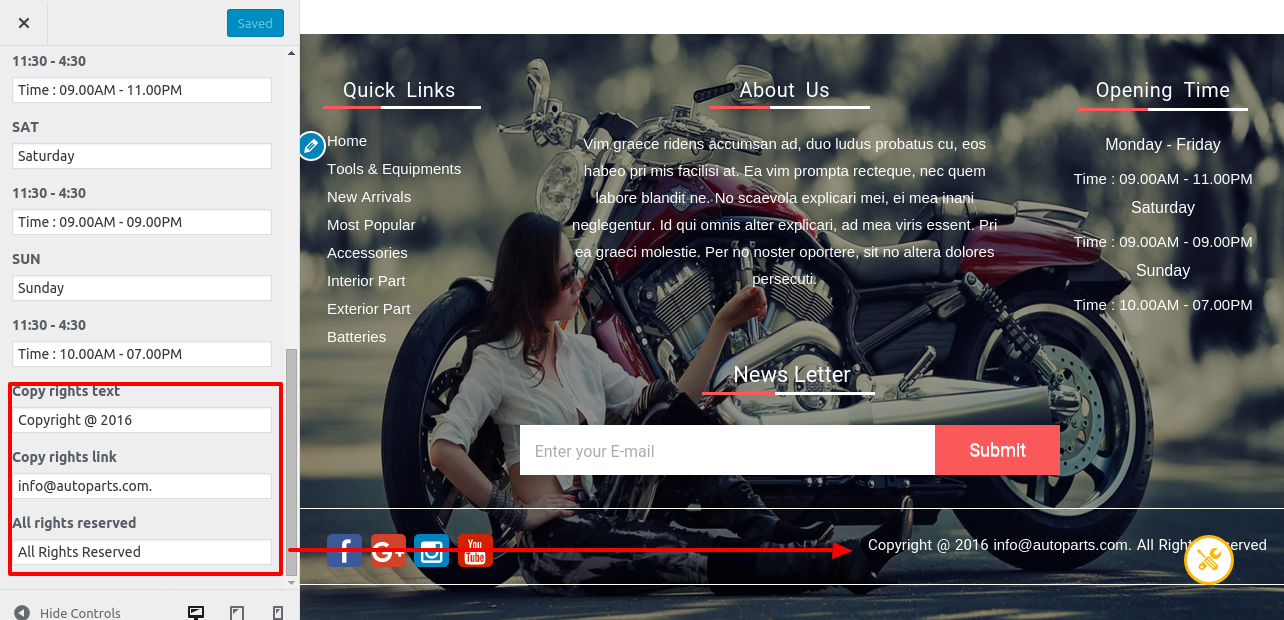
click Footer -> Footer Details
click Footer -> Copy rights
Click Socials tab
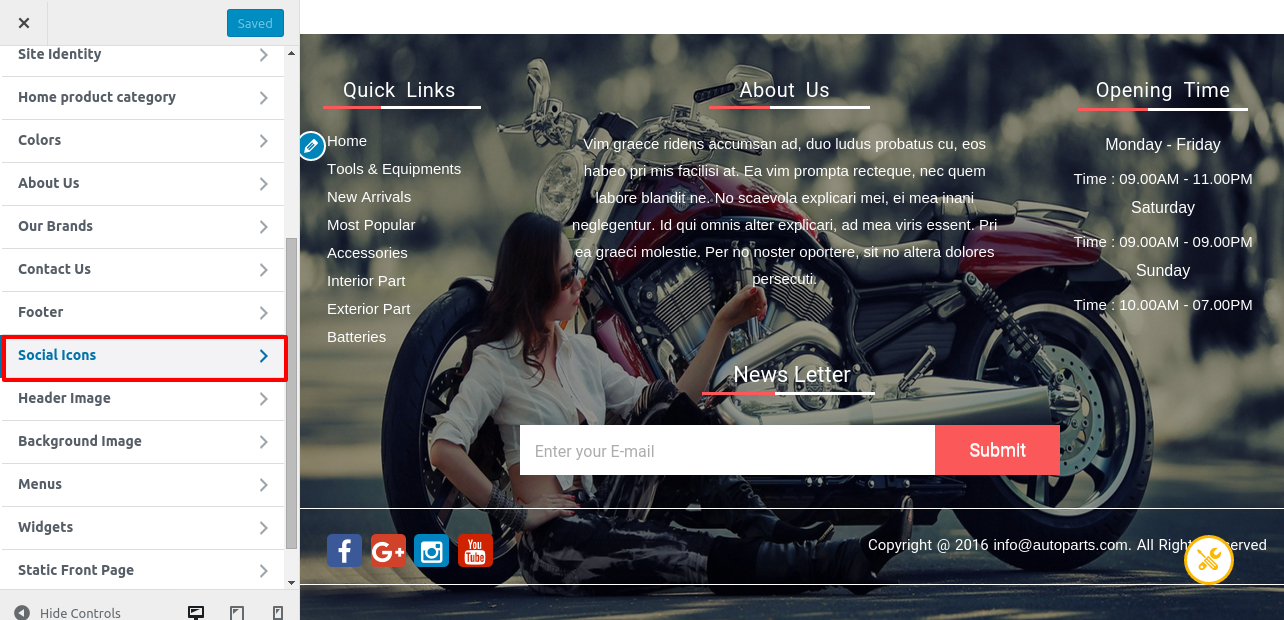
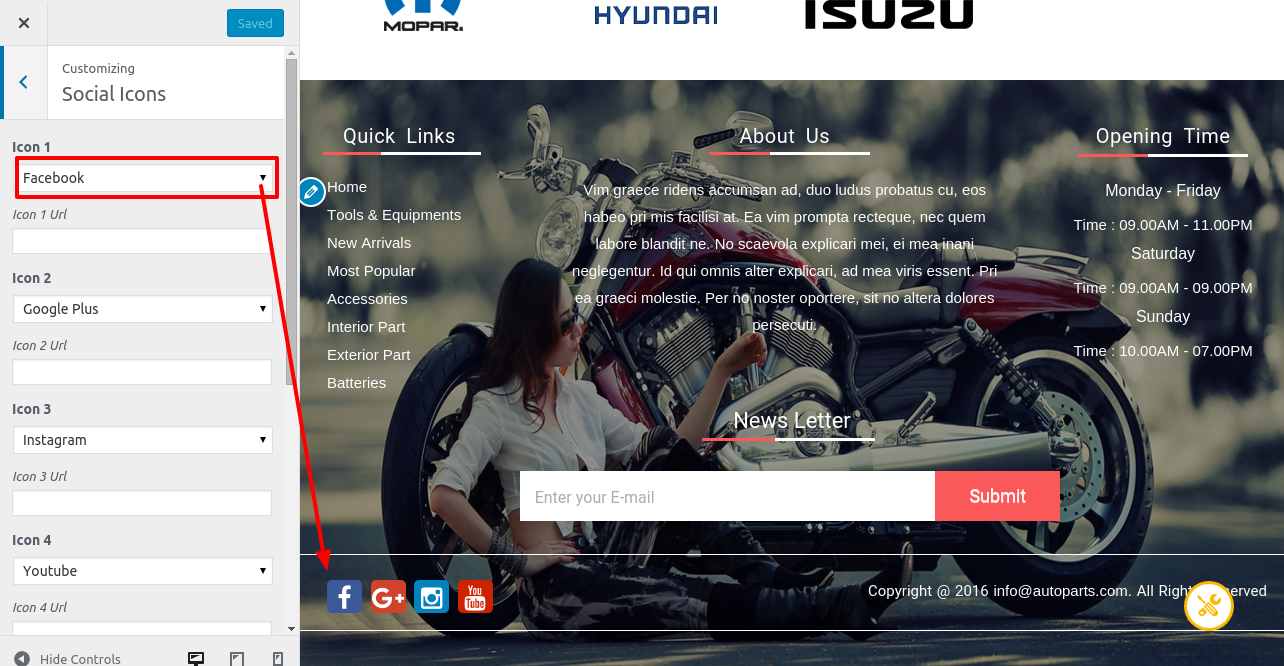
Choose your Social link then Add Footer Social Links Url.
Save & Publish
4 Pages - top
Here you should create three pages for ABOUT,CONTACT,WISHLIST
Go to Pages -> Add New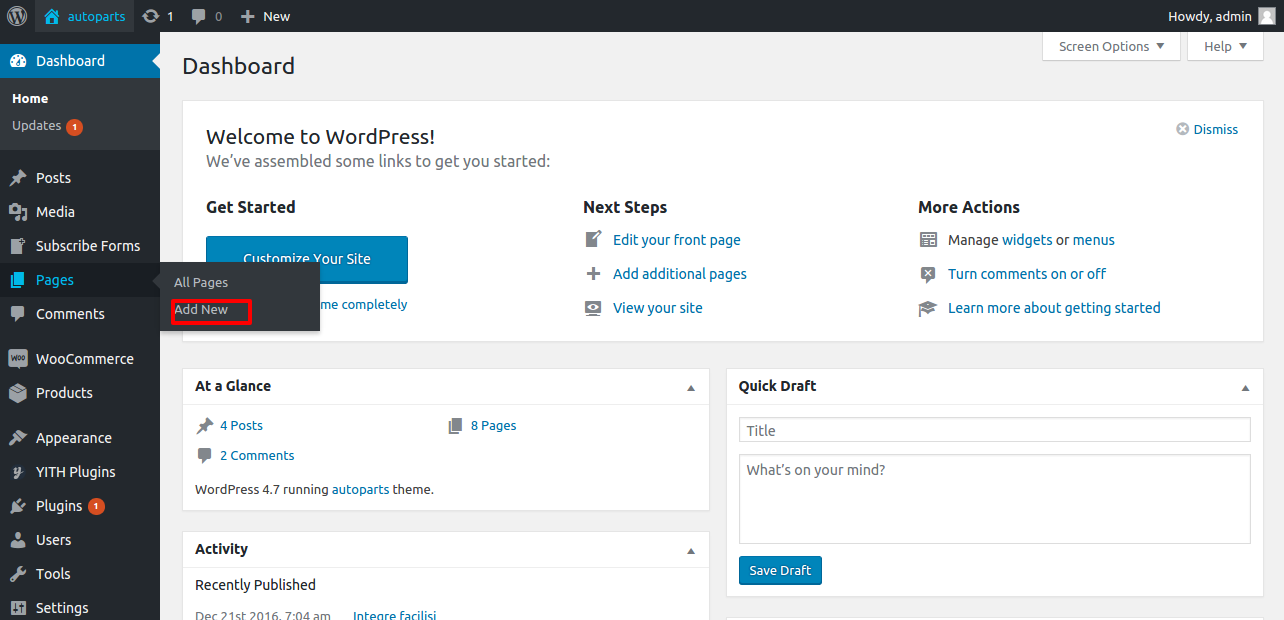
You can add different banner image in header images for none of home page.
FOR ABOUT PAGE
create a page with about title
Then choosing About page on Page Attribute section in Template dropdown.
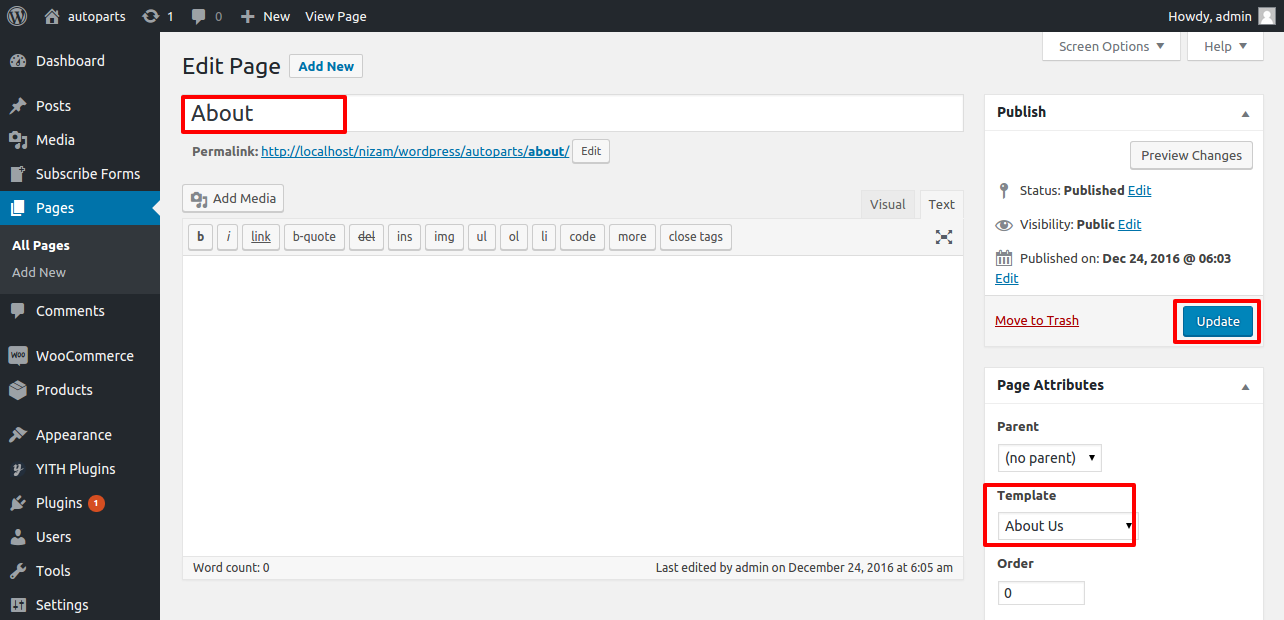
About Page Customization
Goto --> Customize Panel -->About Us tab

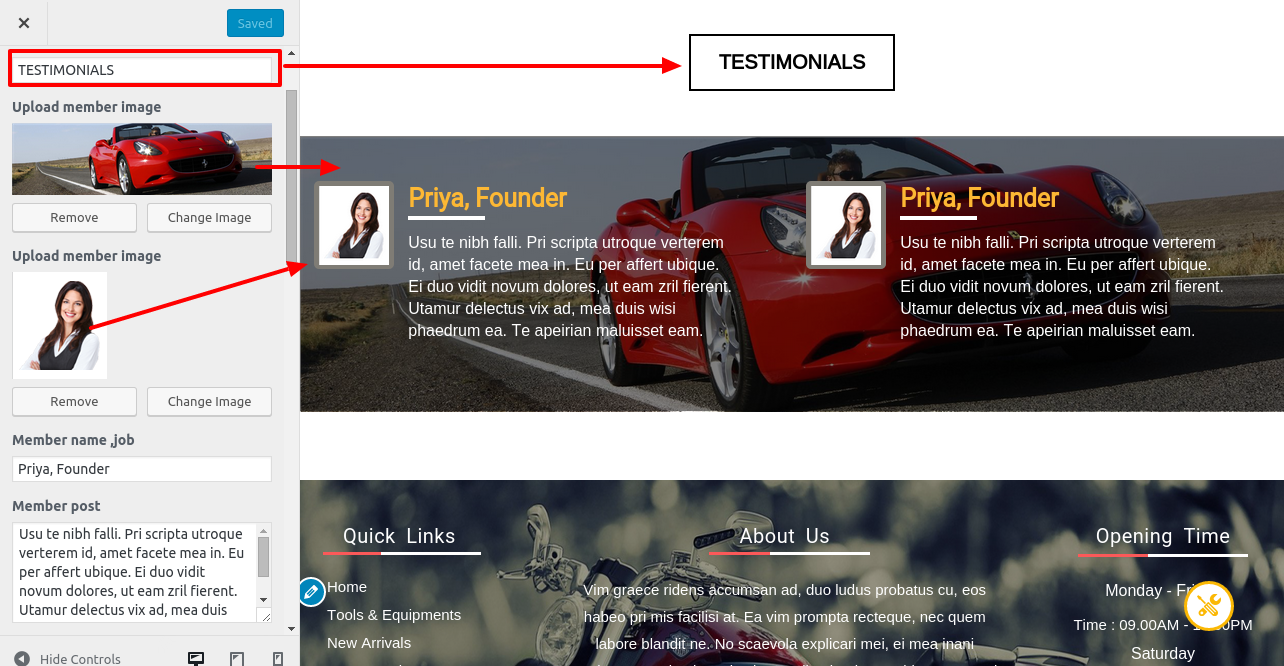
About page Our team section

About page Testimonial section
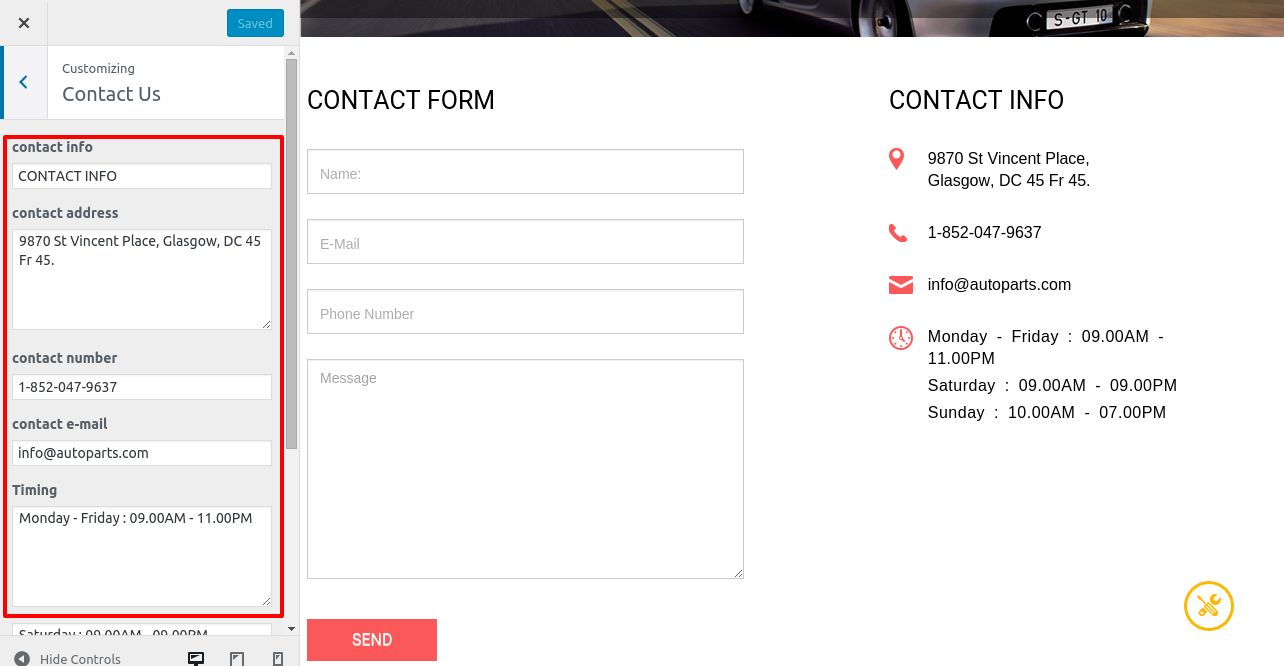
FOR CONTACT PAGE
create a page with Contact title
Then choosing Conatct page on Page Attribute section in Template dropdown.
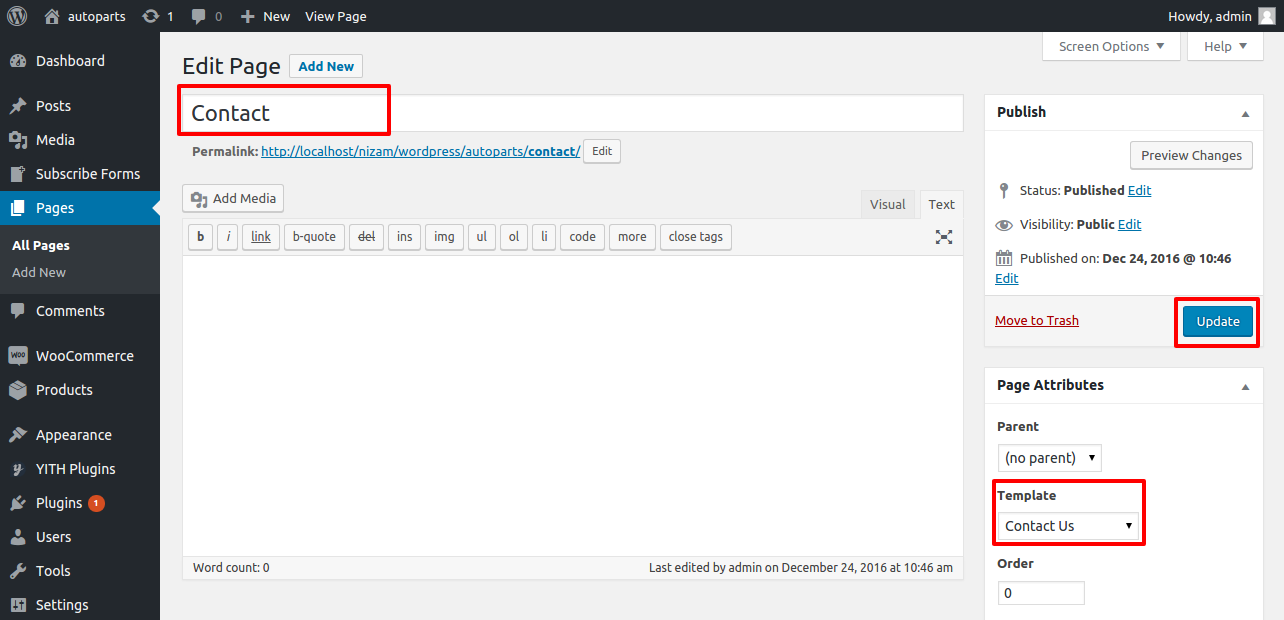
Contact Page Customization
Goto --> Customize Panel -->contact Us tab

Features - top
"Auto parts features"
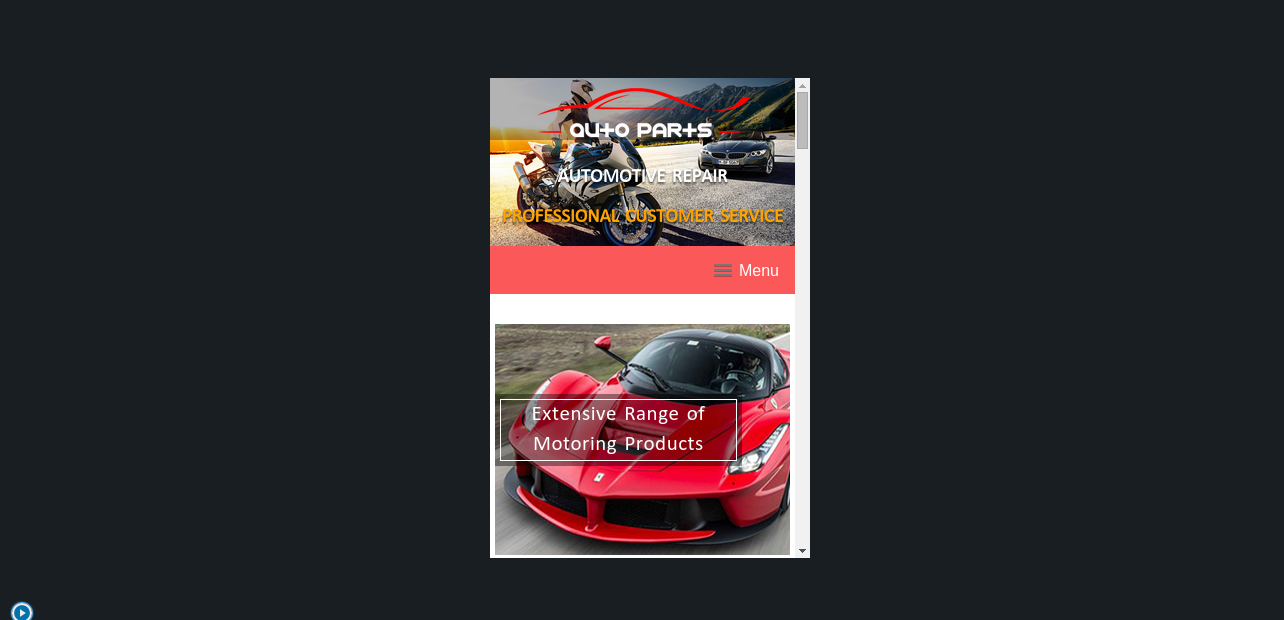
Responsive layout
Compare option
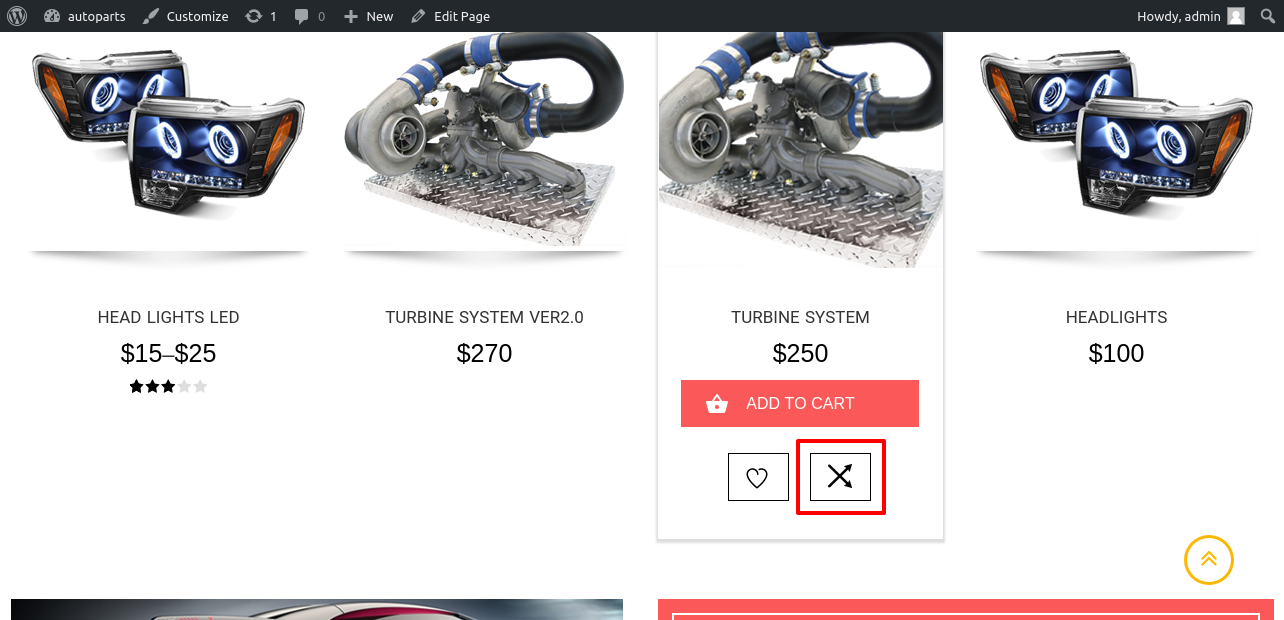

Wishlist option
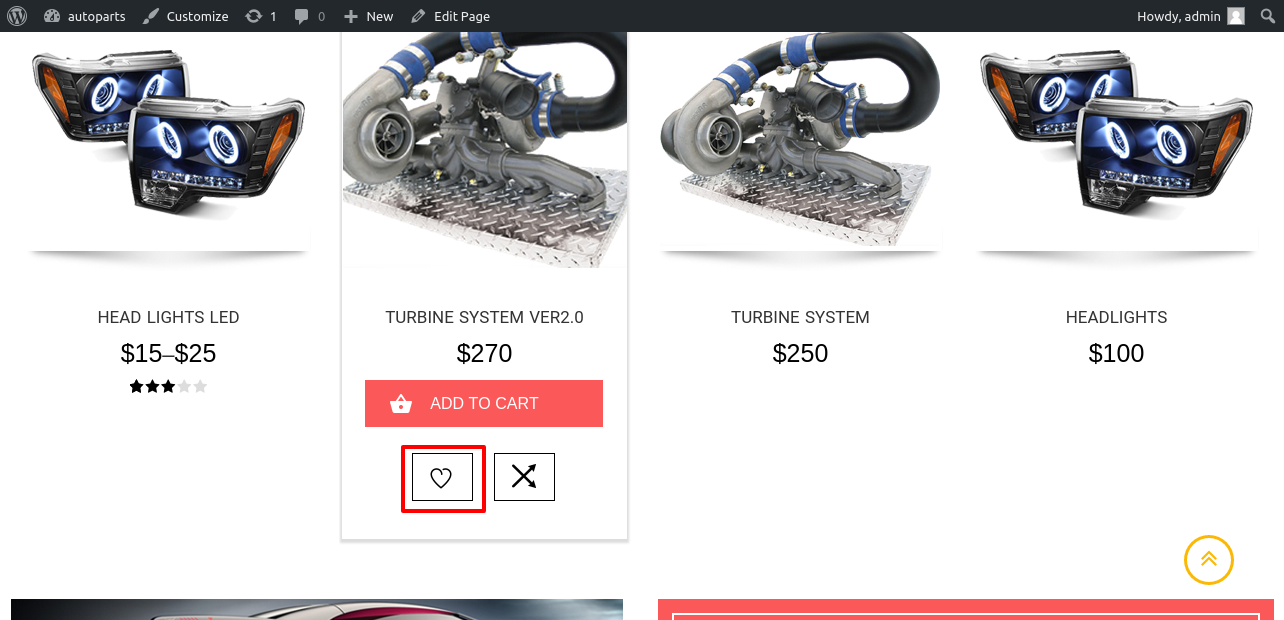

Fully customizabel
5 HTML Structure - top
The Theme uses valid HTML and comes with predefined classes for common elements needed in web design.
All templates share basic elements like header, footer, main, and entry so be carefull when editing those or adding/changing the CSS for those ids and classes :)
6 CSS Files and Structure - top
The CSS for the theme is split into various files: one that holds the basic markup for layout which is called style.css.
7 JavaScript - top
The theme uses advanced jQuery functions. You do not need to know how to use jQuery to activate them, almost everything is controlled by WordPress. All the function calls as well as as the custom created jQuery plugins are located in the Webcodemonster.js file.
Once again, thank you so much for purchasing this theme. As I said at the beginning, I'd be glad to help you if you have any questions relating to this theme. No guarantees, but I'll do my best to assist.
Webcodemonster